A properly functioning septic system is essential for any home that relies on one, yet many homeowners don’t think about their septic tank until a major issue arises. One of the most effective ways to prevent expensive repairs and unexpected failures is through an annual septic inspection. Regular inspections help identify early warning signs, extend the life of your system, and ensure wastewater is being treated safely and efficiently. If you’re new to septic ownership or simply want to stay ahead of maintenance, this annual checklist will help you understand what a thorough septic inspection should include.

1. Evaluate System Age and Previous Maintenance
An inspector will typically start by asking about the history of your system. Knowing the age of your tank, when it was last pumped, and any past repairs provides valuable context. Older systems may require more frequent inspections, while newer systems still need annual checkups to ensure proper operation.
2. Check Tank Levels and Sludge Accumulation
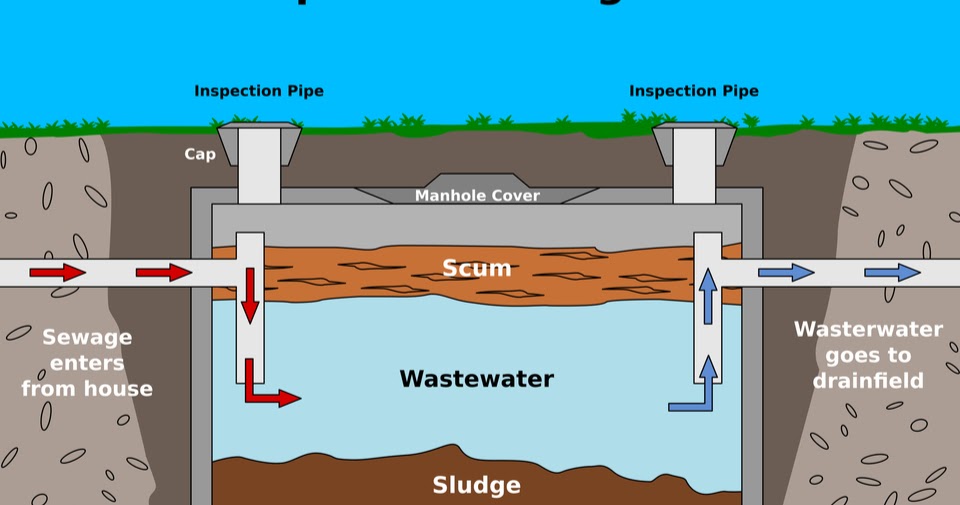
A key part of a septic inspection is measuring the thickness of the sludge and scum layers inside the tank. Excessive buildup is one of the biggest contributors to backups and overflows. If levels are too high, a pumping recommendation will follow. Keeping these levels in check is crucial for protecting both your household plumbing and the surrounding environment.
3. Inspect Baffles and Structural Integrity
Baffles play an important role by preventing solids from leaving the tank and entering the drainfield. The inspector will check the inlet and outlet baffles to ensure they aren’t damaged or blocked. They’ll also examine the tank for any cracks, corrosion, or structural weakness, problems that can lead to leaks or groundwater contamination if left untreated.
4. Examine the Drainfield
A healthy drainfield is essential for proper wastewater treatment. The inspection usually includes checking for pooling water, soggy soil, unusual vegetation growth, or foul odors, signs that the drainfield may be failing. Good drainage and natural absorption are key indicators that your system is functioning as it should.
5. Test System Flow and Water Use
Inspectors often run water through the home to observe how efficiently it flows into the septic system. Slow drainage, gurgling pipes, or backups can point to blockages or drainage issues. They may also assess your household’s water usage since excessive water can overload the system and reduce its lifespan.
6. Evaluate Mechanical Components
If your system includes pumps, floats, filters, alarms, or advanced treatment units, these components will be checked for functionality. Mechanical failures often start small but can lead to significant system problems without early detection.
7. Review Access Lids, Risers, and Safety Concerns
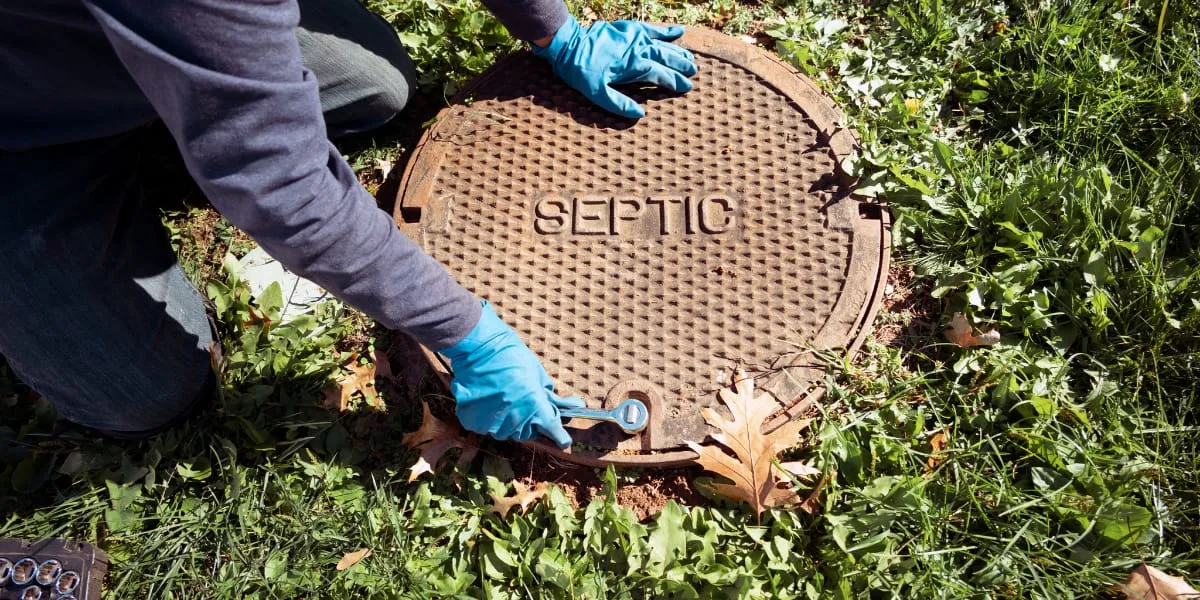
A proper septic inspection also involves checking the condition of tank lids and risers to ensure they are secure and accessible. Damaged or missing lids can create safety hazards and allow debris or animals to enter the system.

Your DIY Septic System Inspection Checklist & Professional Guidance
Keeping your septic system healthy saves you money and prevents emergencies. While a professional inspection is irreplaceable, performing regular DIY checks is a powerful way to catch problems early. Use this comprehensive checklist and form to monitor your system's health between professional visits.
Understanding Septic Inspection Requirements
Before you begin, it's crucial to know the basic septic inspection requirements that define a proper check. A thorough inspection, whether DIY or professional, should assess three key areas:
- Scum and Sludge Layers: Verifying that waste levels are within safe limits.
- Structural Integrity: Checking the tank, lids, and baffles for cracks or damage.
- Drain Field Function: Ensuring the liquid effluent is absorbing properly into the soil.
Our DIY septic inspection form below is designed to help you cover these core requirements safely and effectively.

Free DIY Septic Inspection Checklist & Report Template
Think of this checklist as your foundational septic inspection report template. For your convenience, you can easily adapt this into a Word document or spreadsheet for record-keeping.
Safety First! Wear gloves and eye protection. Never enter a septic tank—toxic gases are lethal.
Part A: Locating & Exposing the System
- Locate the Tank & Manhole Lids: Use a probe rod to find the tank boundaries and access lids.
- Clear Debris: Remove any soil, grass, or obstructions from the manhole covers for a clear view.
Part B: Interior Tank Checks (Visual Only)
- Inspect the Inlet Baffle: Ensure wastewater is flowing freely into the tank without backup.
- Inspect the Outlet Baffle: Check that only clear liquid (effluent) is exiting to the drain field. The baffle should be intact.
- Check for Surface Cracks: Look for any cracks in the tank walls at the waterline or on the lid.
Part C: Drain Field & Surrounding Area Assessment
- Walk the Drain Field: Look for soggy ground, surfacing sewage, or unusually green and lush grass.
- Check for Odors: Note any foul smells emanating from the tank or drain field area.
- Inspect Vent Pipes: Ensure the system’s vent pipes are not blocked by debris.
Part D: Household Plumbing Indicators
- Check Drain Speed: Note if sinks or toilets are draining slower than usual.
- Listen for Gurgling: Listen for gurgling sounds in drains after flushing or running water.
Finalize Your Report:
- Date of Inspection: ____________________
- Observations & Action Items: ________________________________
- Next Professional Inspection Due: ____________________

Additional Tips for a Healthy Septic System
1. Educate Everyone in the Household
The best inspection is a problem prevented. Make sure all household members understand what should and should not go down the drains. Prohibit flushing items like wipes, feminine hygiene products, cooking grease, and harsh chemicals. This is your first and most effective line of defense.
2. Schedule Periodic Professional Assistance
Even with diligent DIY maintenance, it's wise to have a professional inspect your septic system every 1-3 years. They have the tools and expertise to handle complex tasks that go beyond a visual check, such as:
- Accurately measuring scum and sludge layers to determine if pumping is needed.
- Performing a load test to stress the system and identify hidden issues.
- Checking for leaks in the tank structure itself.
- Ensuring mechanical components like pumps and alarms are in good working order.
Using this DIY septic inspection checklist empowers you to be proactive, while partnering with a professional ensures your system's long-term health and compliance with local regulations.
Why Annual Inspections Matter
Skipping yearly inspections may save time in the moment, but it increases the risk of major issues like system backups, drainfield failure, and costly repairs. An annual septic inspection provides peace of mind, protects your investment, and ensures that wastewater is being treated responsibly. By staying proactive and keeping a consistent inspection schedule, homeowners can significantly extend the life of their septic system and avoid unexpected emergencies. A little maintenance each year goes a long way toward keeping your home safe, clean, and efficient.


